How to use MSI Burnrecovery?
Please follow the steps below (only for desktop with MSI preload Windows system).
The main function of "MSI Burnrecovery " is help user to create the system recovery media with the data inside the system recovery partition. Besides, Burnrecovery supports "DVD", "USB Flash Drive" or "ISO Image". The recovery media can be used as a recovery tool when the recovery partition area cannot be used or replaced with a new system storage.
MSI recommends all users should create system backup by Burnrecovery tool。The recovery media can help you recover your system in most cases.
(Warning): Using MSI BurnRecovery to create Recovery DVD, system might require DVD 9 during creating Recovery DVD process.
- How to use "MSI Burnrecovery" to create recovery media
- How to use the recovery media made by "MSI Burn recovery" for system recovery
How to use "MSI Burnrecovery" to create recovery media
(Note): Please keep the power adapter plugin during the process.
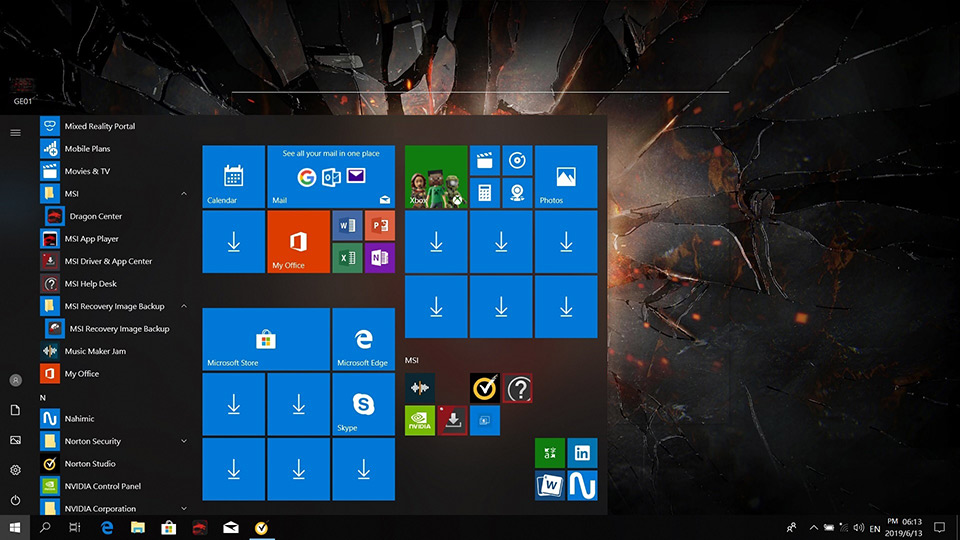
You can create 3 types of recovery media.
Recovery DVD
(Note): The size requirement for recovery media is around 30GB. Please prepare enough DVD.
1. After running the program, select "Recovery disc" and click "Next".
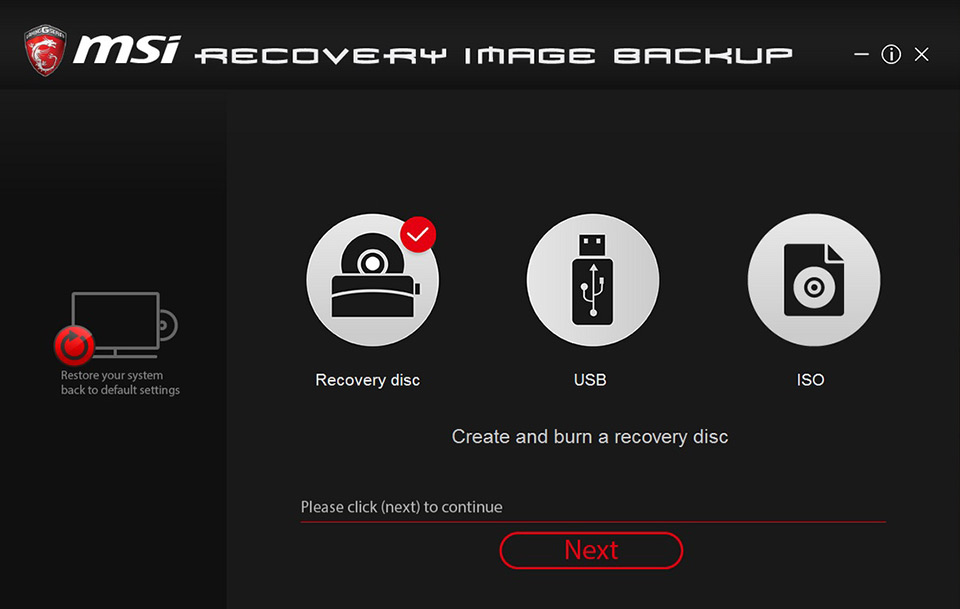
2. Creating a recovery file, please prepare a writable DVD.
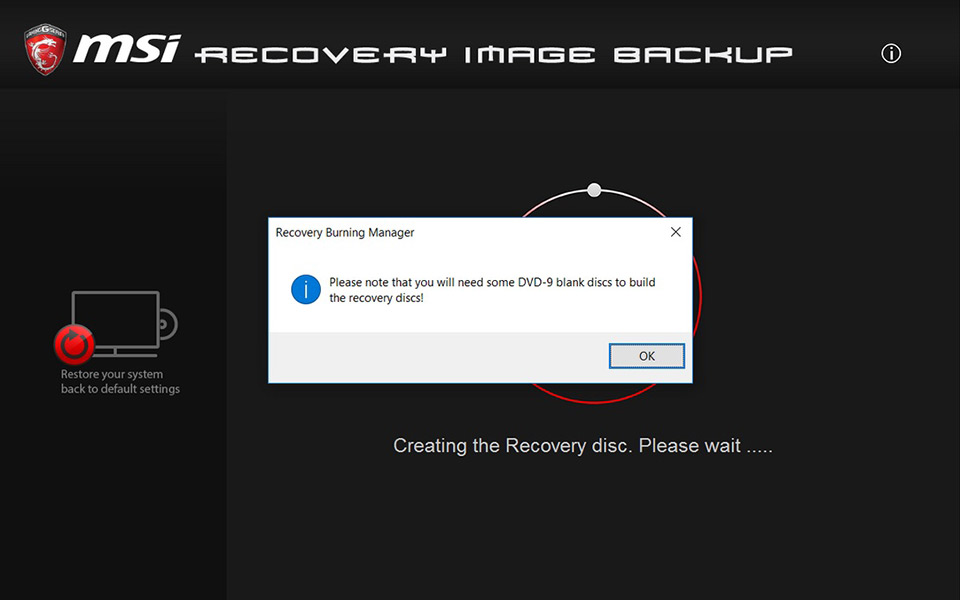
3. After the recovery file is completed, it will list how many discs needed and the disc capacity (the number of discs required for each model is different. Some models will need to use DVD-9 discs for the recovery. Please pay attention to the reminder)
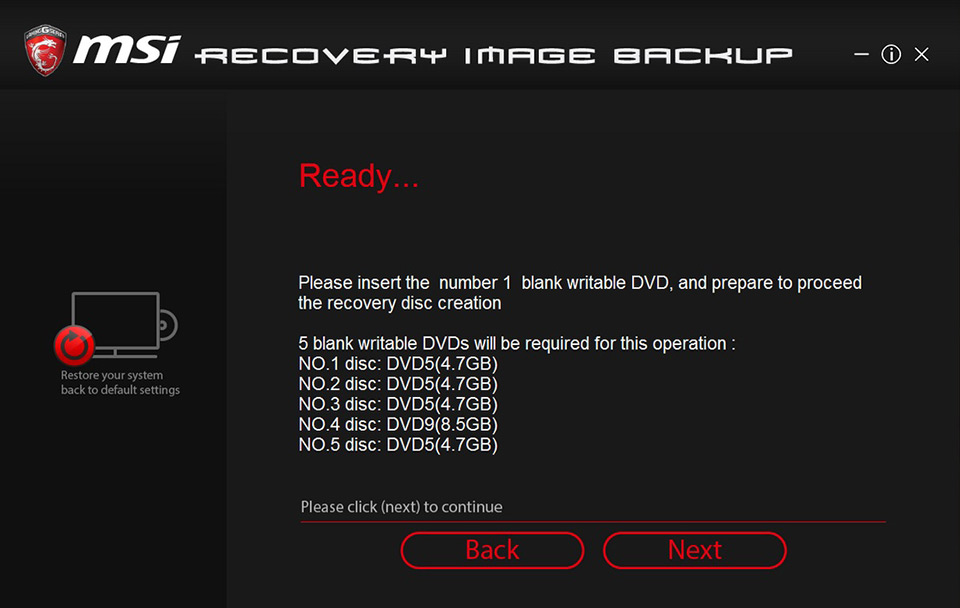
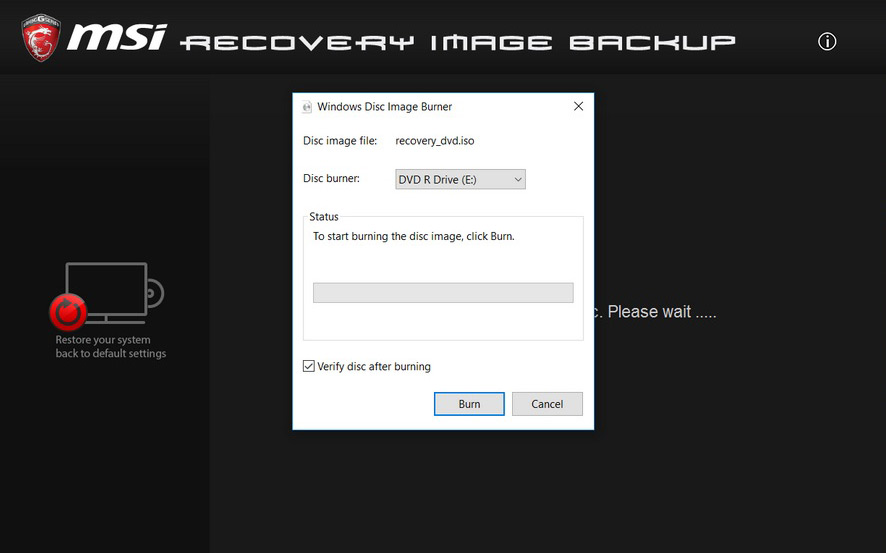
4. Insert the disc into the CD player and click on "Burn" .
5. After the restoration disc is burned, click "Close".
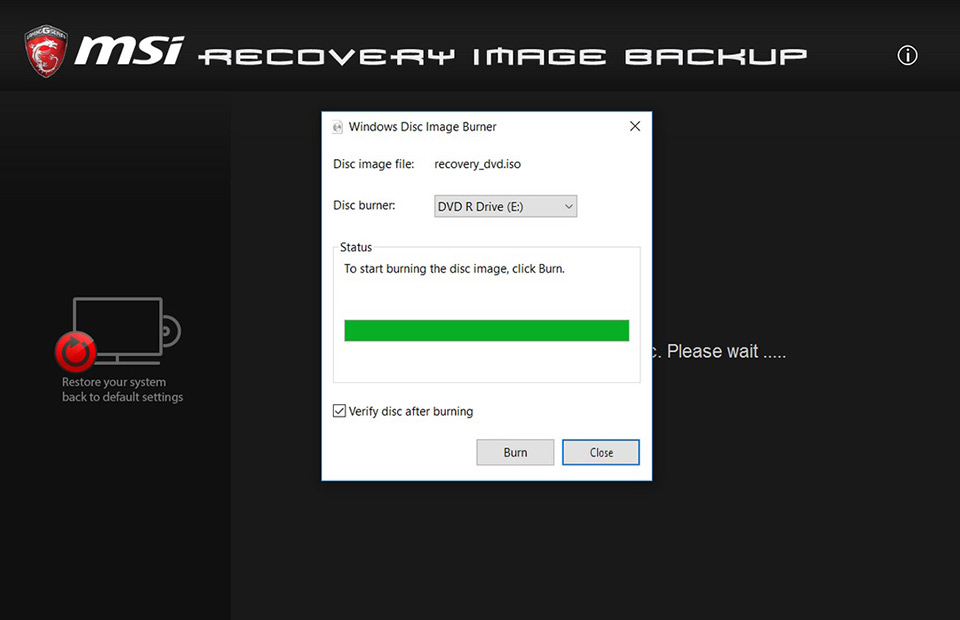
6. Follow the prompts to replace the disc and click "Next" to continue burning.
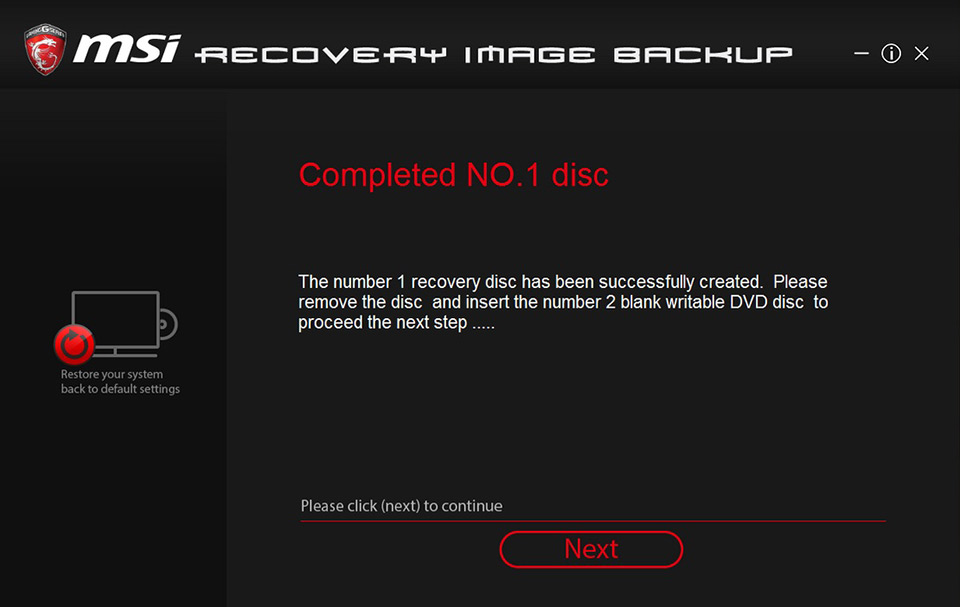
7. Until all discs are burned.
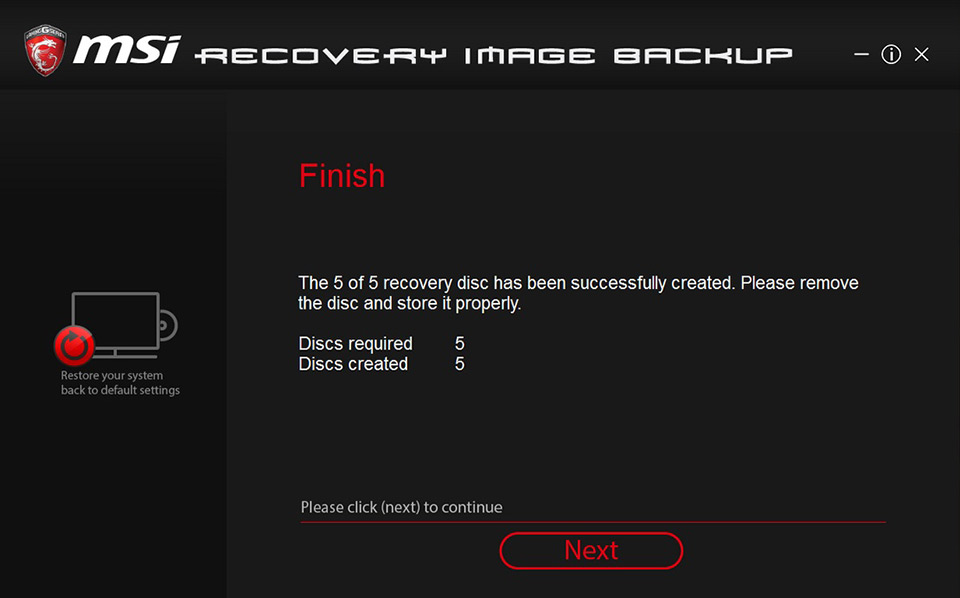
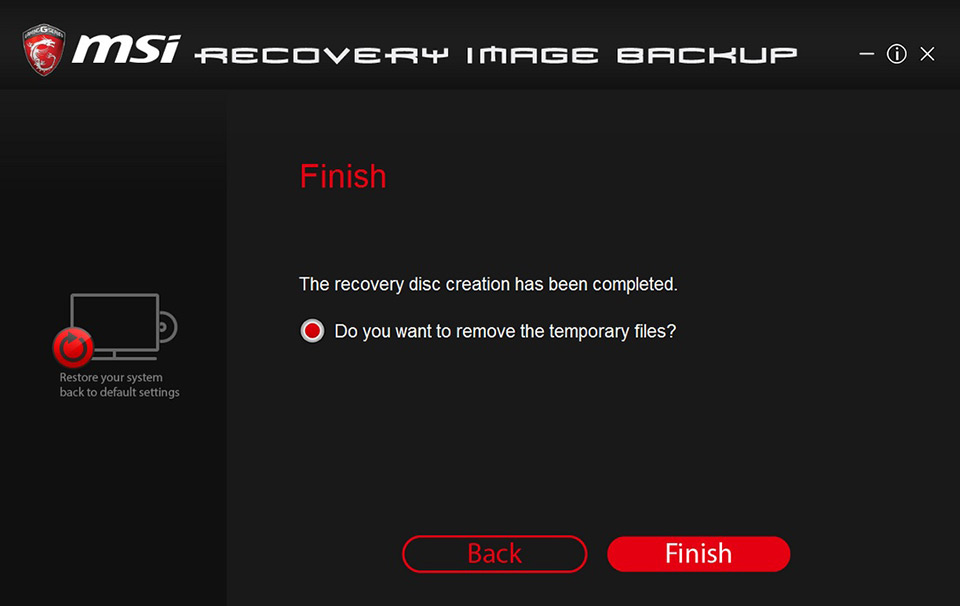
8. Choose [remove temporary file] and click "Finish" to complete the burning process.
Recovery USB
1. Select "USB" and click "Next".
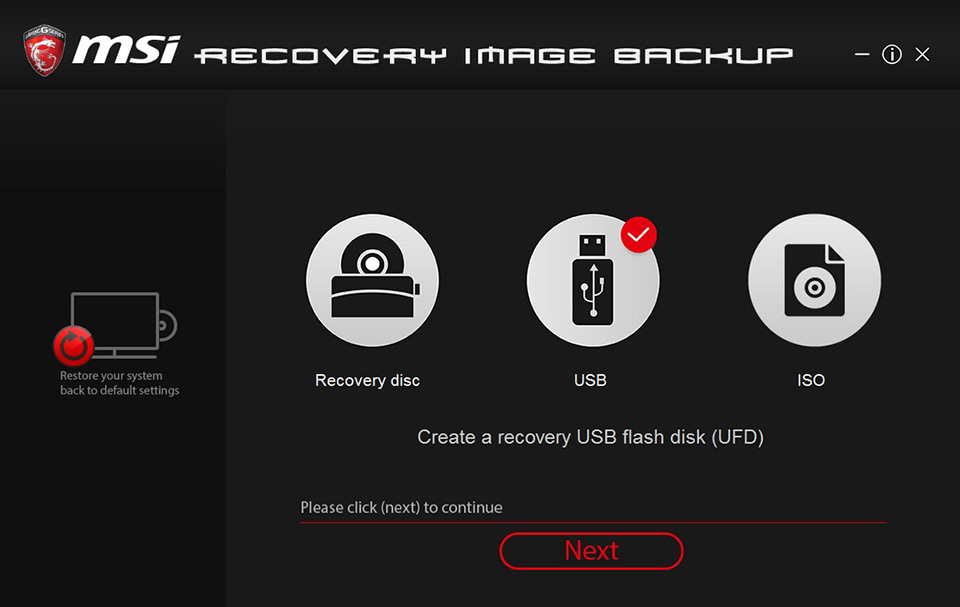
2. Insert a USB flash drive with sufficient capacity (recommended to use a minimum of 32GB flash drive).
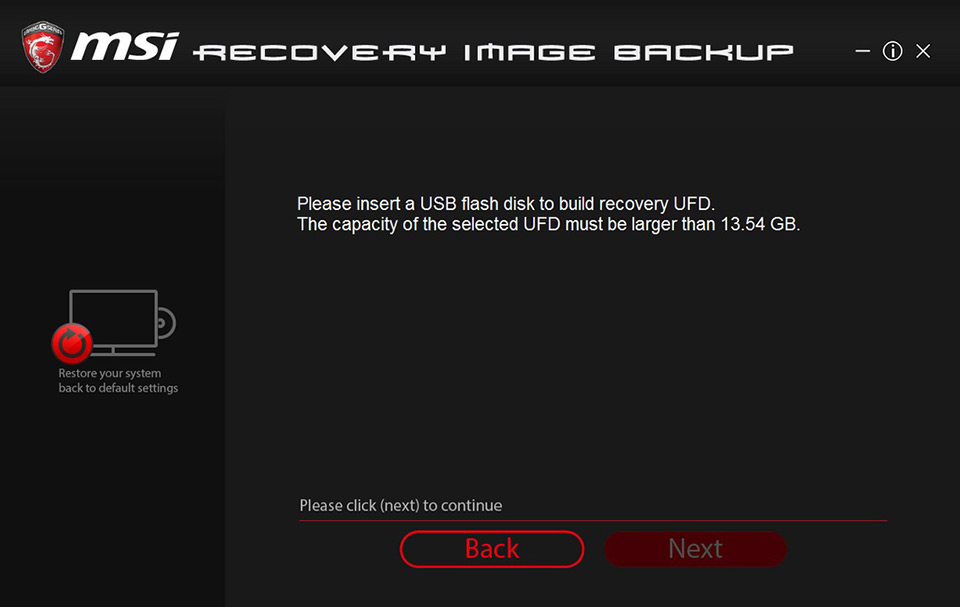
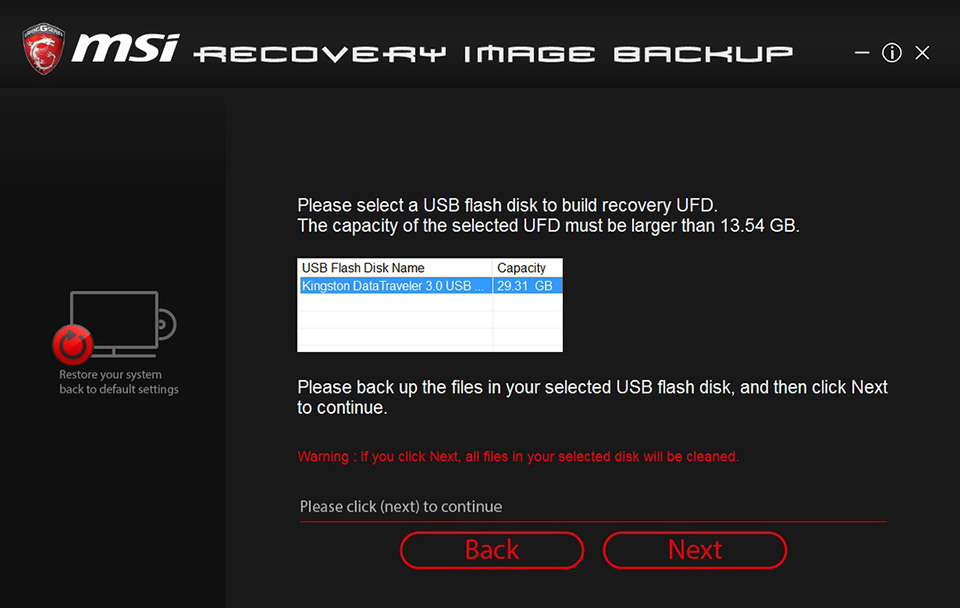
3. Select the USB flash drive that you want to create the recovery media.
(Note): The data in the USB flash drive will be format during this process. Please backup in advance if necessary.
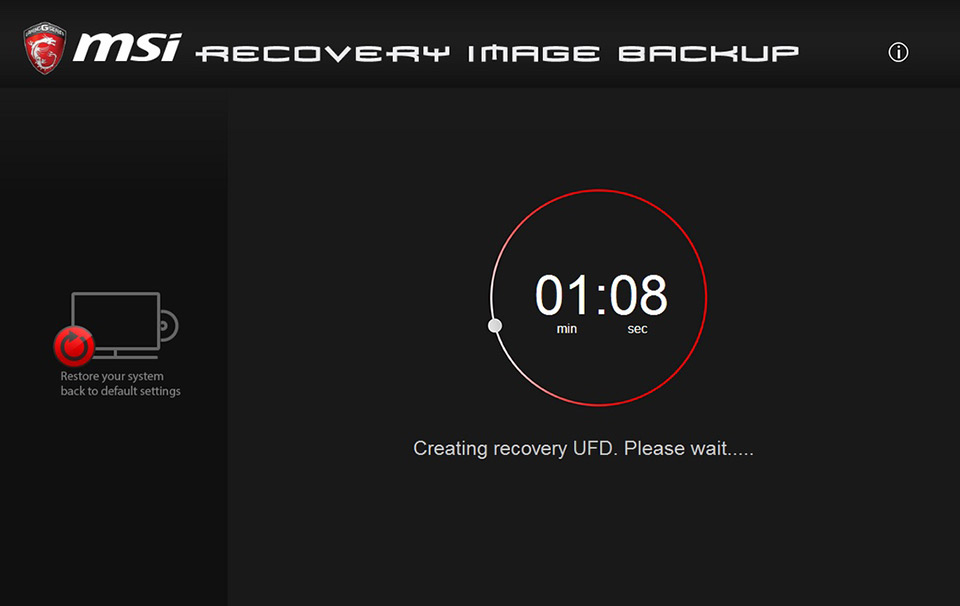
4. Start creating recovery media; please be patient during this process.
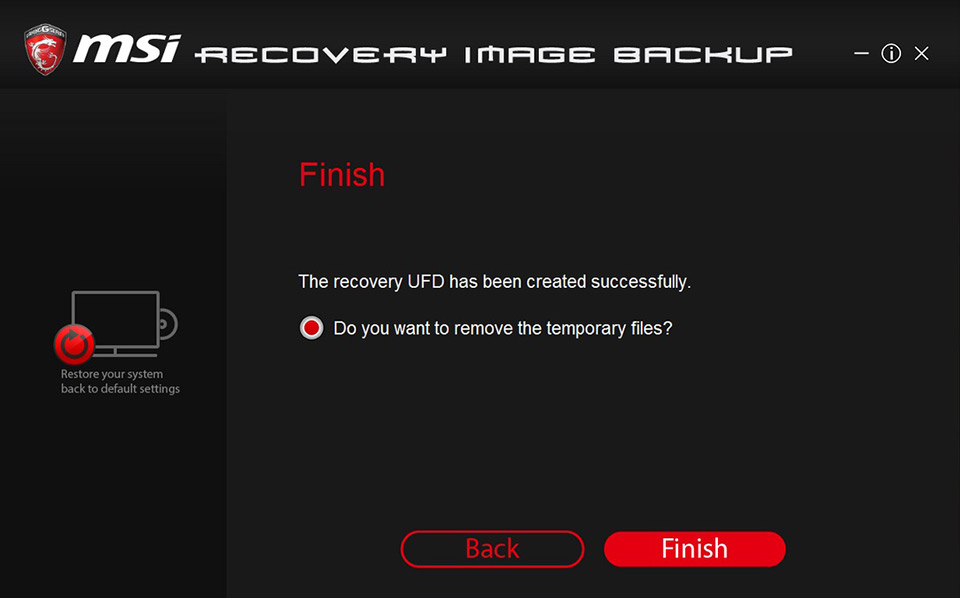
5. Choose [remove temporary file] and click "Finish" to complete burning.
Recovery ISO file
1. Select "ISO" and click "Next".
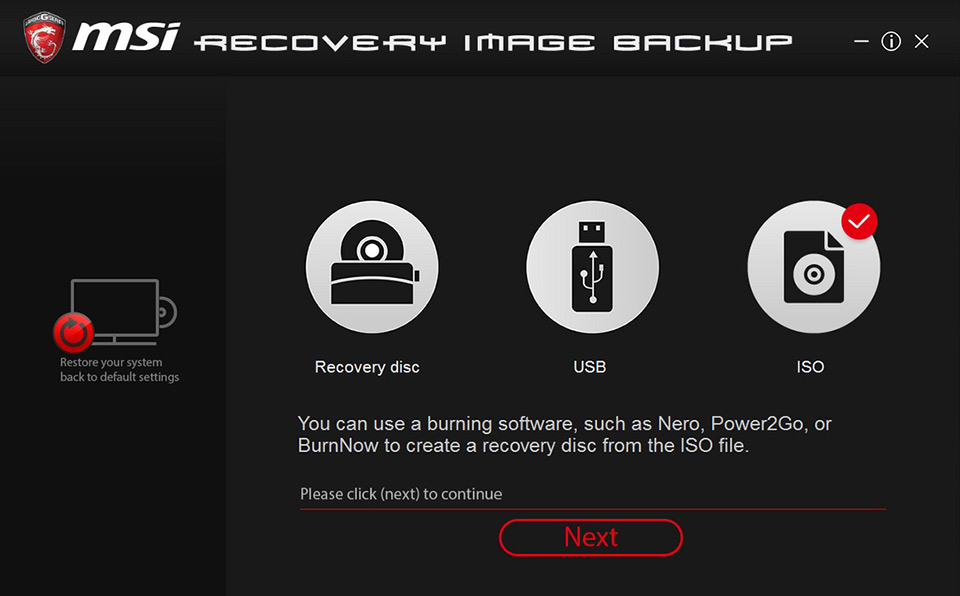
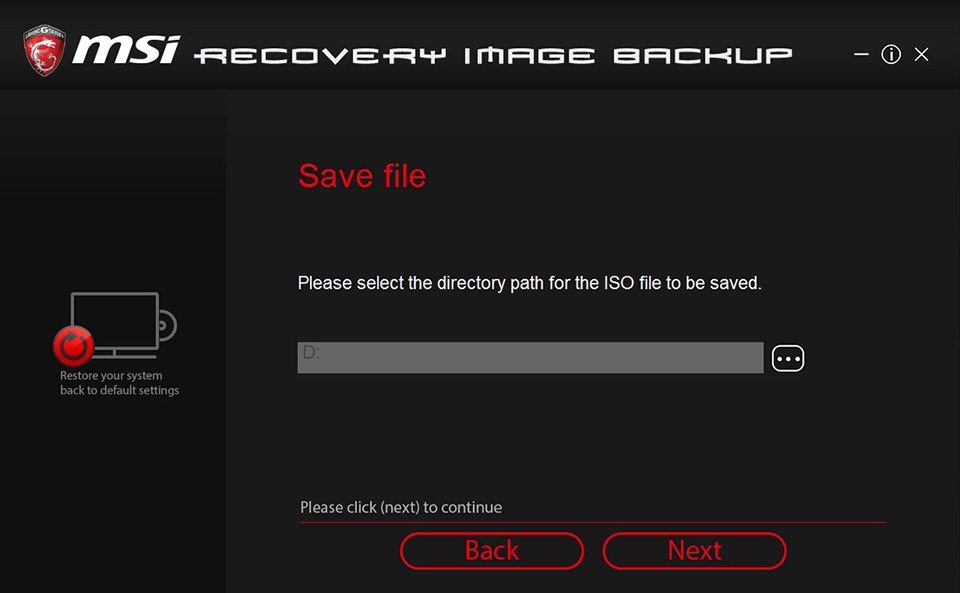
2. Select the storage path for ISO file and click "Next".
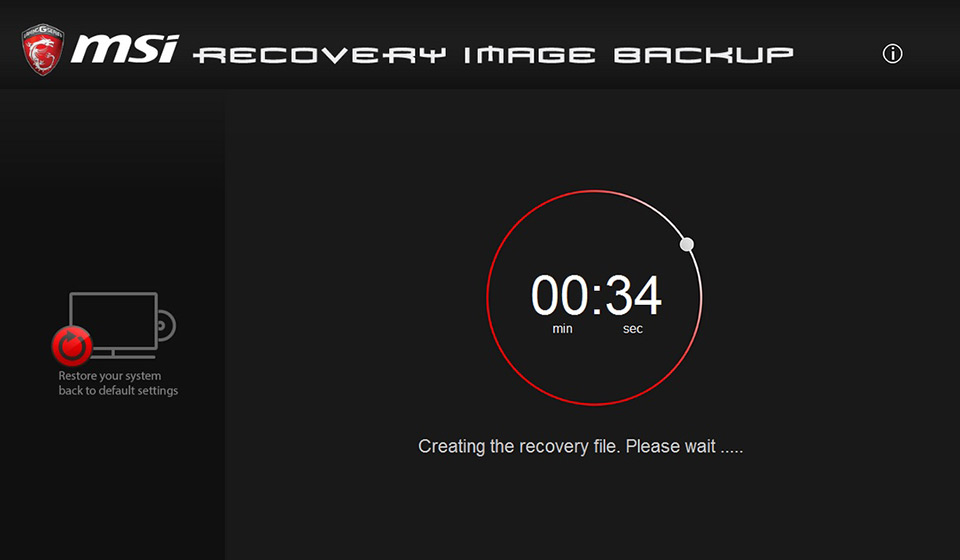
3. Start the creating process. Please wait and be patient.
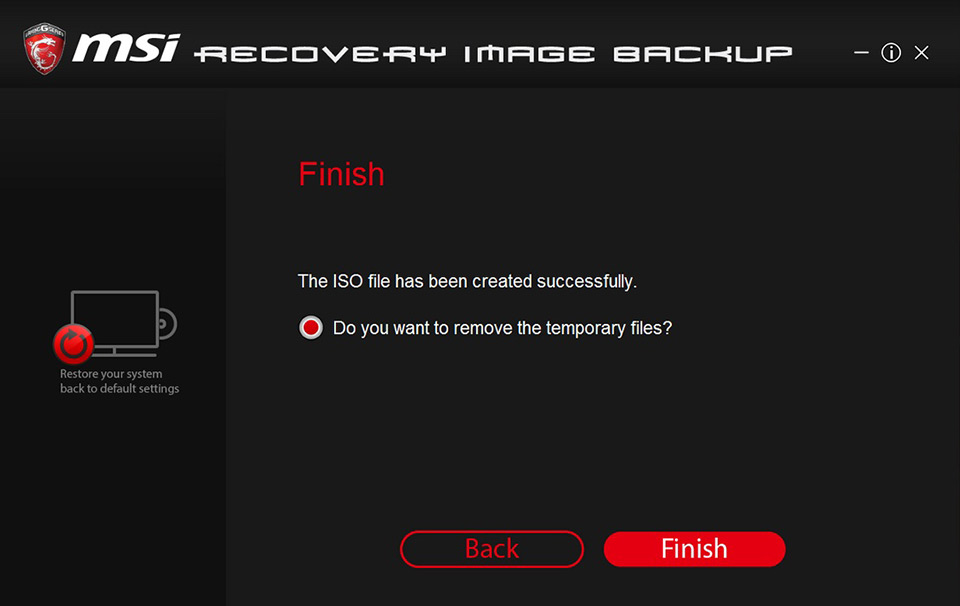
4. Choose to remove temporary file and click "Finish" to complete burning process.
How to use the recovery media made by "MSI Burn recovery" for system recovery
(Note): Please keep the power adapter is always connected
1. Press the power button to start the notebook. After seeing the MSI logo screen, please keep tapping the “F11” Key on the keyboard and enter the boot menu. Then, choose the USB flash drive and press“ Enter” to boot (This is an example of a USB flash drive. If you use a recovery DVD, this step selects the DVD to boot).
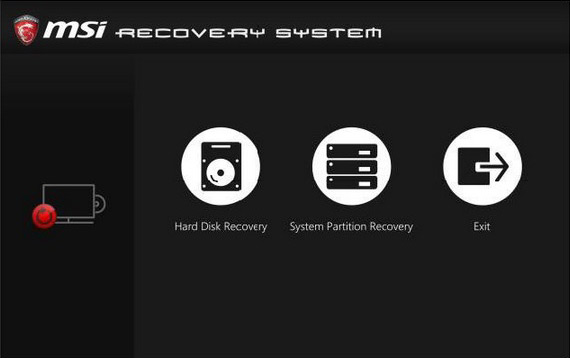
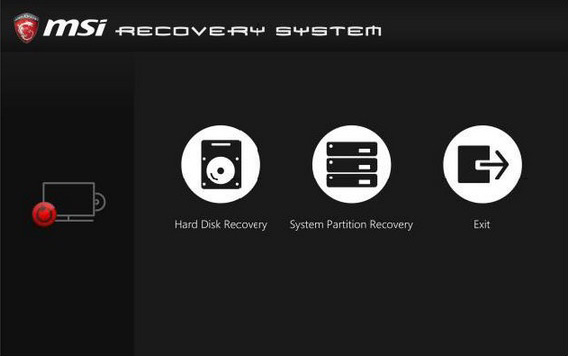
2. Select “Hard Disk Recovery”, you can select “Place both the Windows OS and the recovery partitions on a specified disk” or “Place the Windows OS and the recovery partitions on two designated disk respectively”. The hard drive is restored to the factory default state.
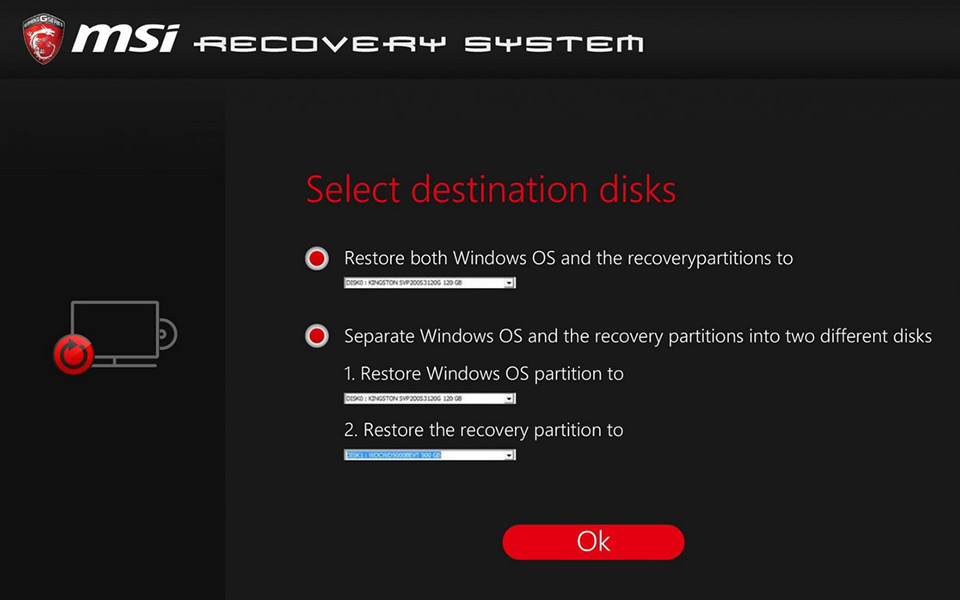
3. Select "Place the operating system and the restored magnetic area on two designated hard disks respectively", and only reset the system disk to install the factory defaults.
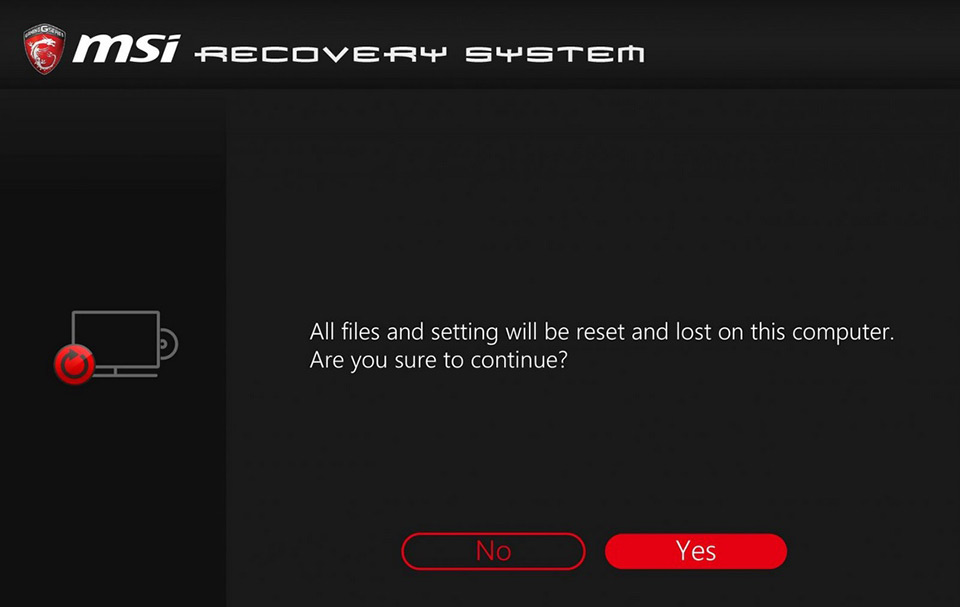
4. The system prompts that the restore process will be reformatted. If necessary, please backup it in advance. Confirm to continue to restore and click "Yes".
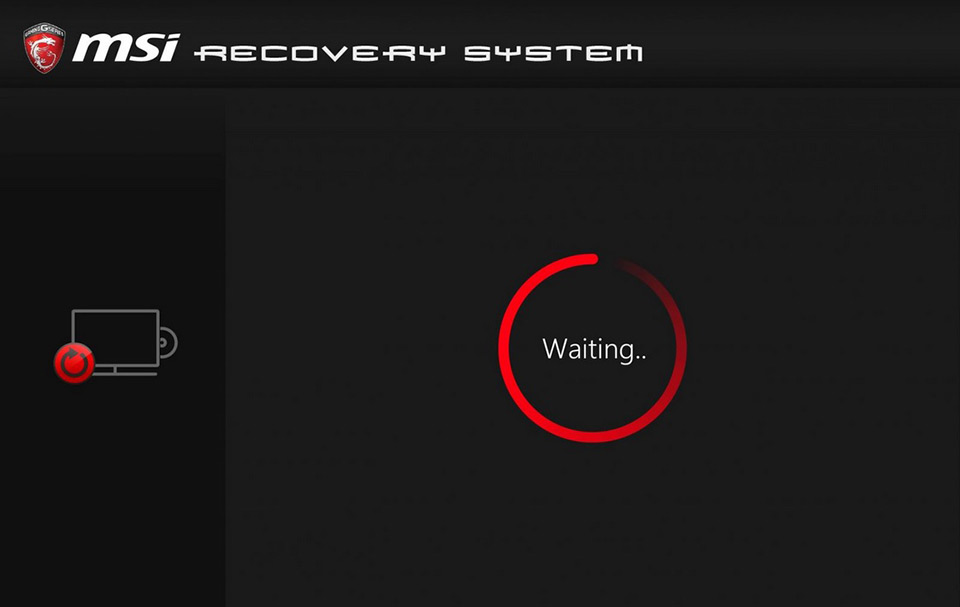
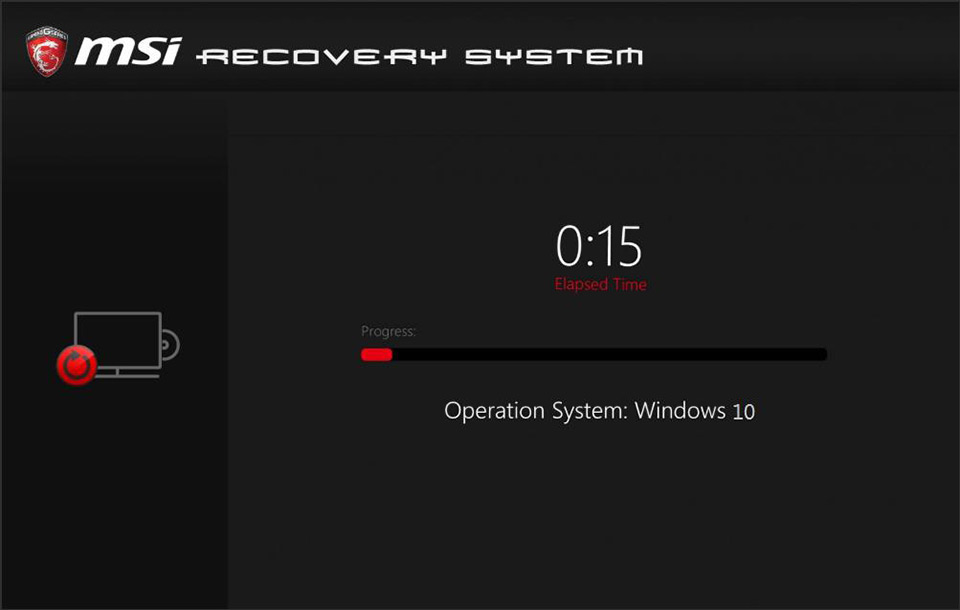
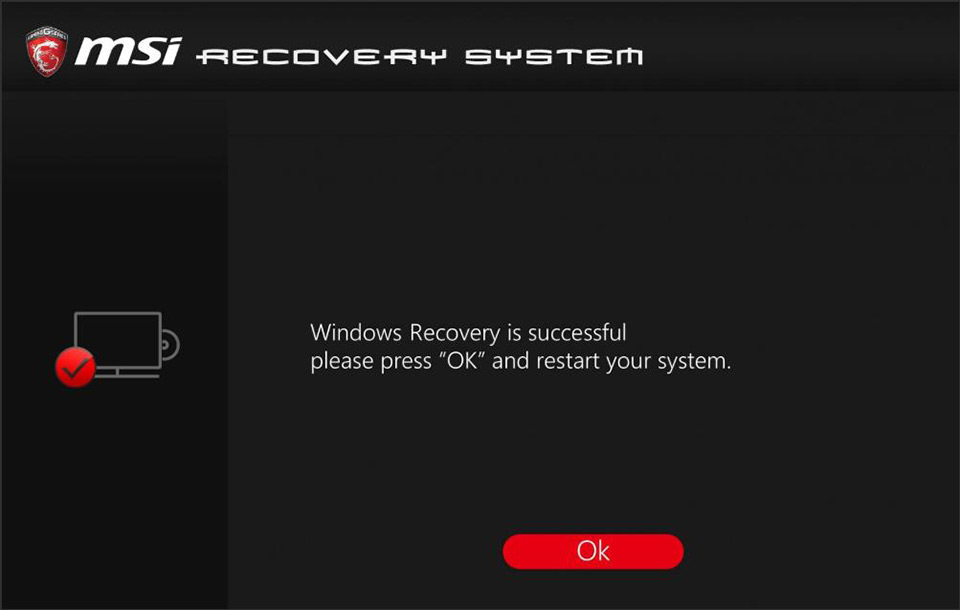
5. Click “Next” according to the program prompt until the restoration is completed (please wait patiently during the restoration process, do not perform other operations)
