How to fix audio crackling, noisy problem?
When experiencing the noisy audio issue with the chassis front panel audio port, please cross testing with the chassis and the motherboard to troubleshoot the source of the issue since the audio signal is transferred from the motherboard jumpers.
If the noise occurs with the motherboard I/O audio port, please send the motherboard back to MSI authorized service center for testing. However, if the issue occurs with both the chassis front panel and the motherboard I/O audio port, it is recommended to uninstall the existing audio driver and install the latest audio driver released on MSI official website.
If the problem persist, we would suggest you to cross testing the external speaker before sending the motherboard back to MSI authorized service point.
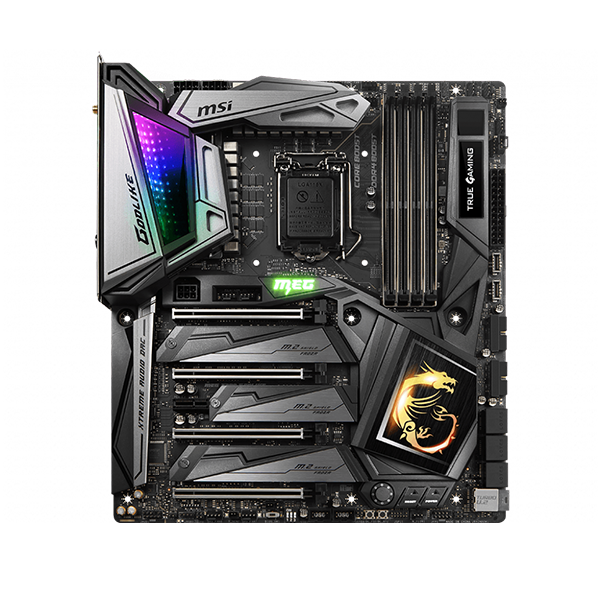
Motherboard JAUD1 audio jumpers
JAUD1 is the jumpers that connect the audio signal from the motherboard to the chassis front panel.
JAUD1 is located on the lower left corner of the mainboard and marked with [JAUD1]. The physical location can also be found by the product manual, please refer to the method below to find the JUAD1 on the manual.
Input the model name on the top right corner’s search bar at MSI official website.
For example: input MPG Z390M GAMING EDGE AC in the [Search] icon, press [Enter] key to find the matching result.

Click on the [Manual] button down below the product name
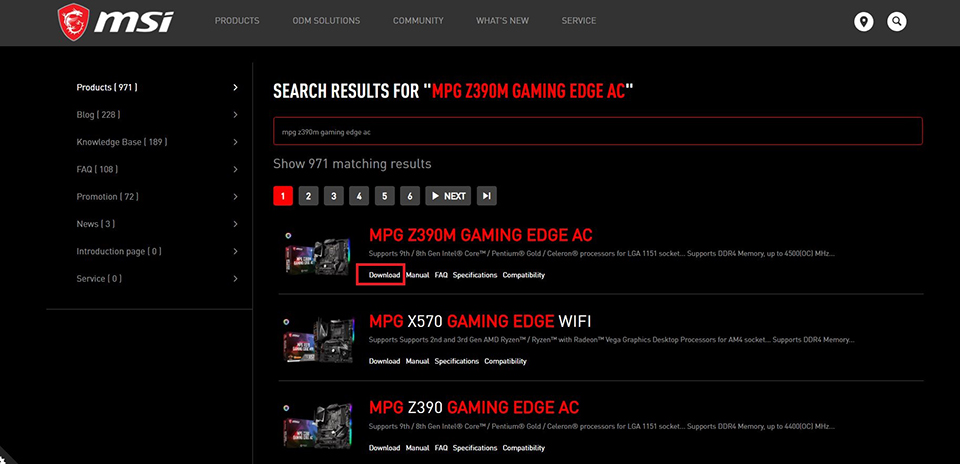
Click on the [Manual] button down below the product name

Select the one with your language and click on the icon with an arrow pointing down to download the manual.

Right-click on the downloaded file and select [Extract all]

Click [Extract]

After Un-zipped the file, open the PDF file

Check on [Component overview] to find the location of JAUD1

Cross-testing with another chassis would be good to confirm the issue. If there’s no such issue with the other chassis, which means the previous chassis caused the problem; if the problem still persist, please follow the steps below to troubleshoot.
Uninstall the existing audio driver
Right-click on the Windows icon → select [Device manager]
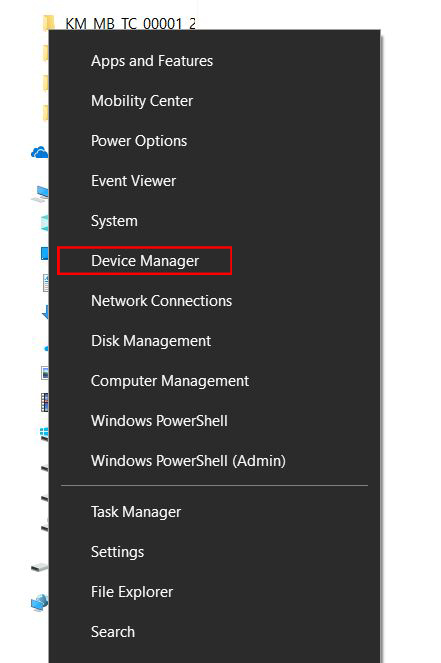
Expand [Sound, Video and game controllers] → Right click on [Realtek (R) Audio] → Select [Uninstall device] to uninstall the current audio driver

Choose [Delete the driver software for this device] → go [Uninstall]

Install the latest audio driver released on MSI official website
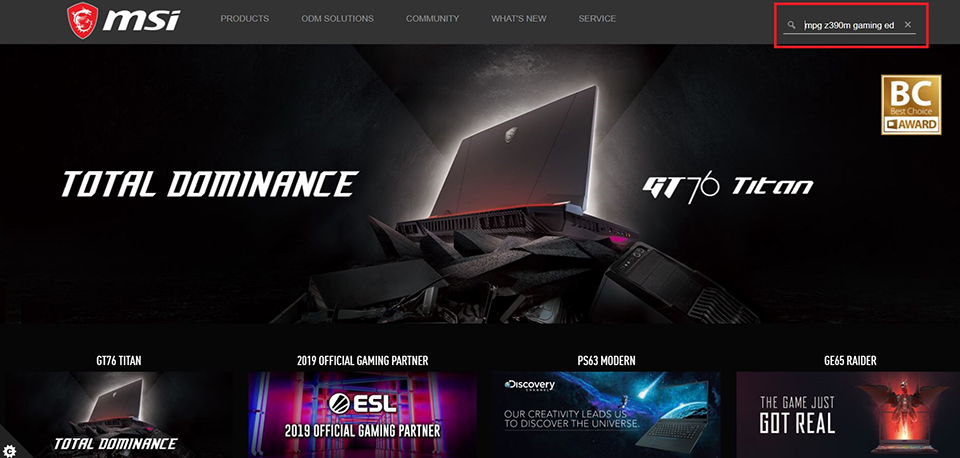
Go to MSI official website, search your motherboard and download the driver.
For example: MPG Z390M GAMING EDG AC, input the product name on the top right search bar, press [Enter]
The matching result for “MPG Z390M GAMING EDG AC” will show up, select [Download] to enter download section.

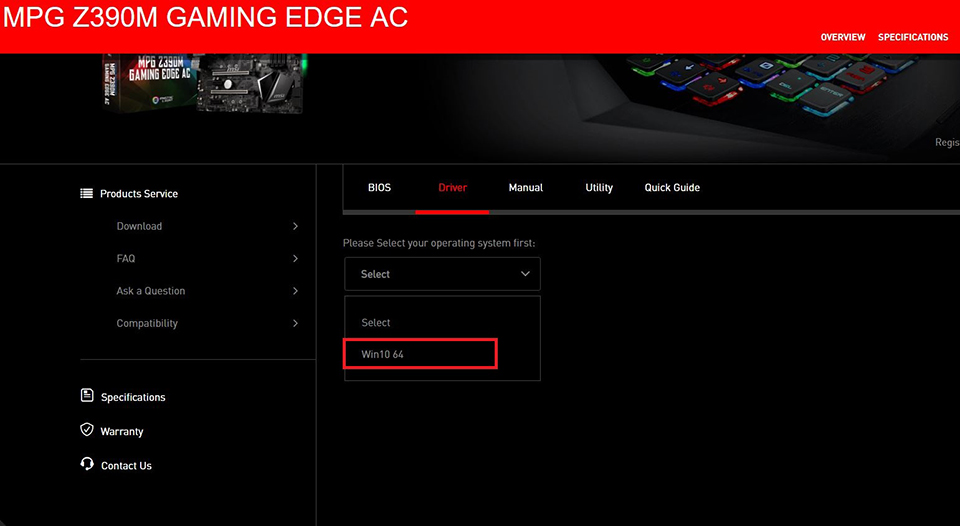
Go to [Driver] tab
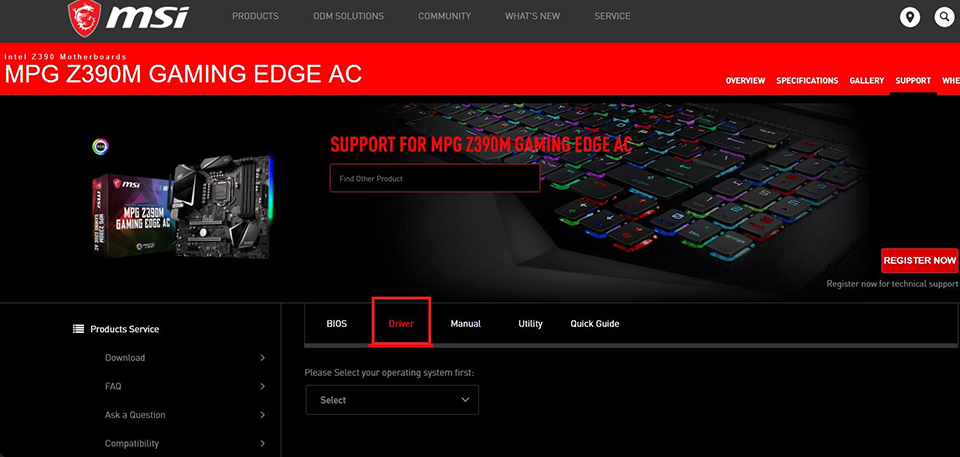
Select your operating system
Click and expand [On-Board Audio Drivers]

Click on the arrow pointing down icon to download

Right-click on the downloaded file and select [Extract All] to unzip the compressed folder

Select [Extract]

Right click on the file → click [Open]

Double click [Setup] to install

Go [Next]

Click [Finish] to complete the driver installation session. Please check if there is still some noise coming with the front audio port and the motherboard I/O audio port.

If the problem still, please cross-testing with another external speaker
If there is still some noise, it is recommended to send the motherboard to the authorized service center to have a check.
If the noise is gone, it is considered the original speaker may have some problems.

