Precautions before upgrading to Windows 11
Please note the following before starting to execute Windows 11 system upgrade.
Execute System Backup
MSI strongly recommends all users backup all personal data before upgrading the system, and use the built-in software to create a system recovery flash drive.
- If your notebook is equipped with MSI Center/ MSI Dragon Center/ MSI Creator Center, please refer to this explanation and run Backup/MSI Recovery/MSI Burn Recovery to create the system recovery backup file.
- If your computer is equipped with MSI Center Pro, please refer to this explanation and run MSI Recovery/MSI Customize Recovery to create a system backup file.
Confirm System Compatibility
The minimum system requirements for running Windows 11 announced by Microsoft are as follows.
- CPU: 1 GHz or higher and compatible 64-bit CPU (Intel/AMD) with 2 or more cores
- Storage space: 64GB or more storage device
- Memory: 4 GB
- TPM: Trust Platform Module (TPM) version 2.0
- System firmware: UEFI, supports Secure Boot
To confirm MSI notebooks that support Windows 11, please refer to the support list.
If your notebook model is not listed on the support list, please use the following steps to run the Microsoft health check application to confirm the system compatibility.
1. Download the “PC Health Check App” from the official website of Microsoft.

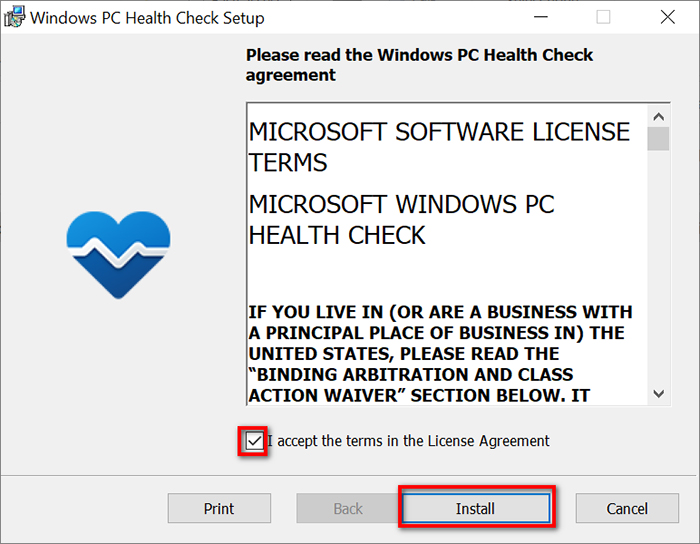
2. Run “Windows PC Health Check Setup”.
3. Accept the terms and click “Install”.
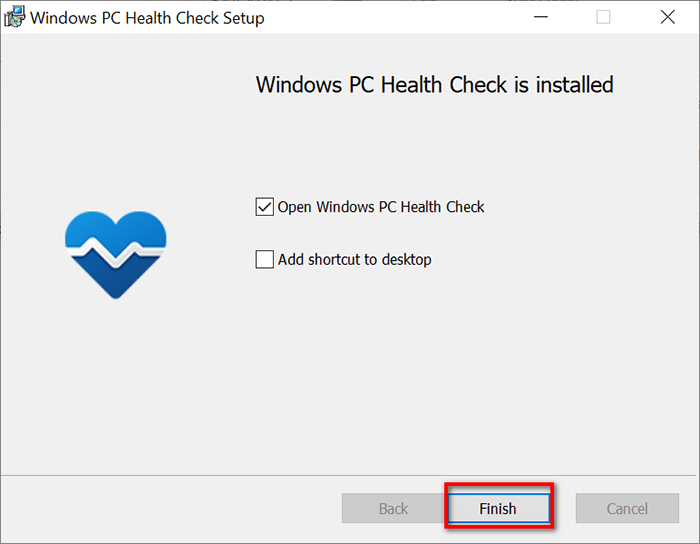
4. When the installation program has been completed, click “Finish” to open the Windows PC Health Check
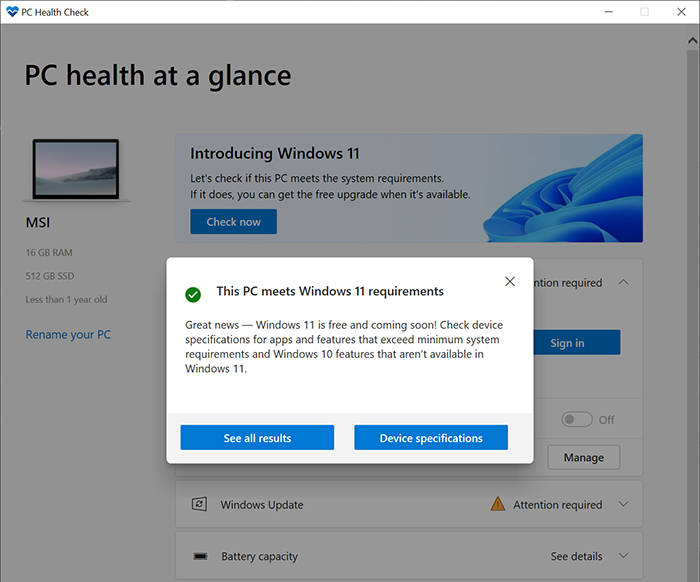
5. Click “Check now” to check the compatibility.
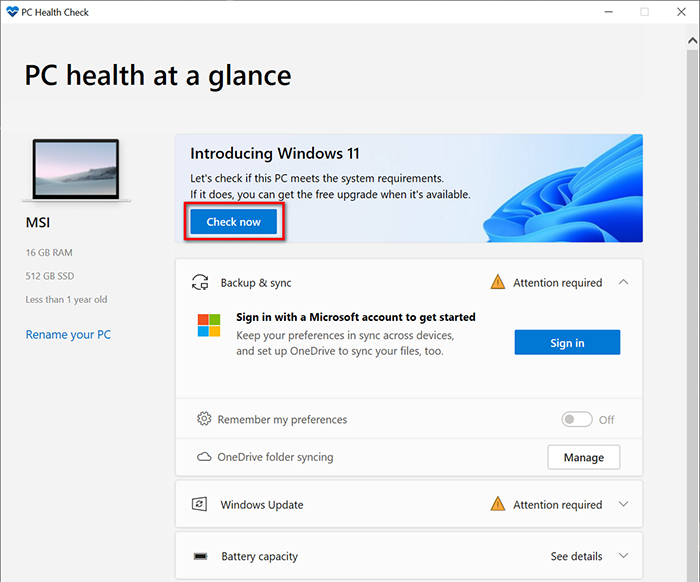
If the result shows “This PC meets Windows 11 requirements”, it means that this system supports Windows 11.
